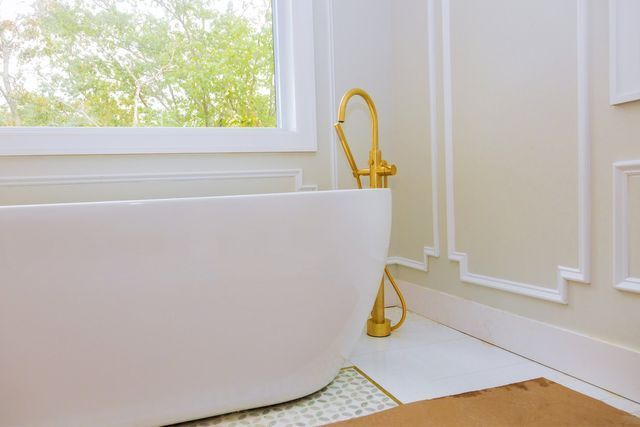
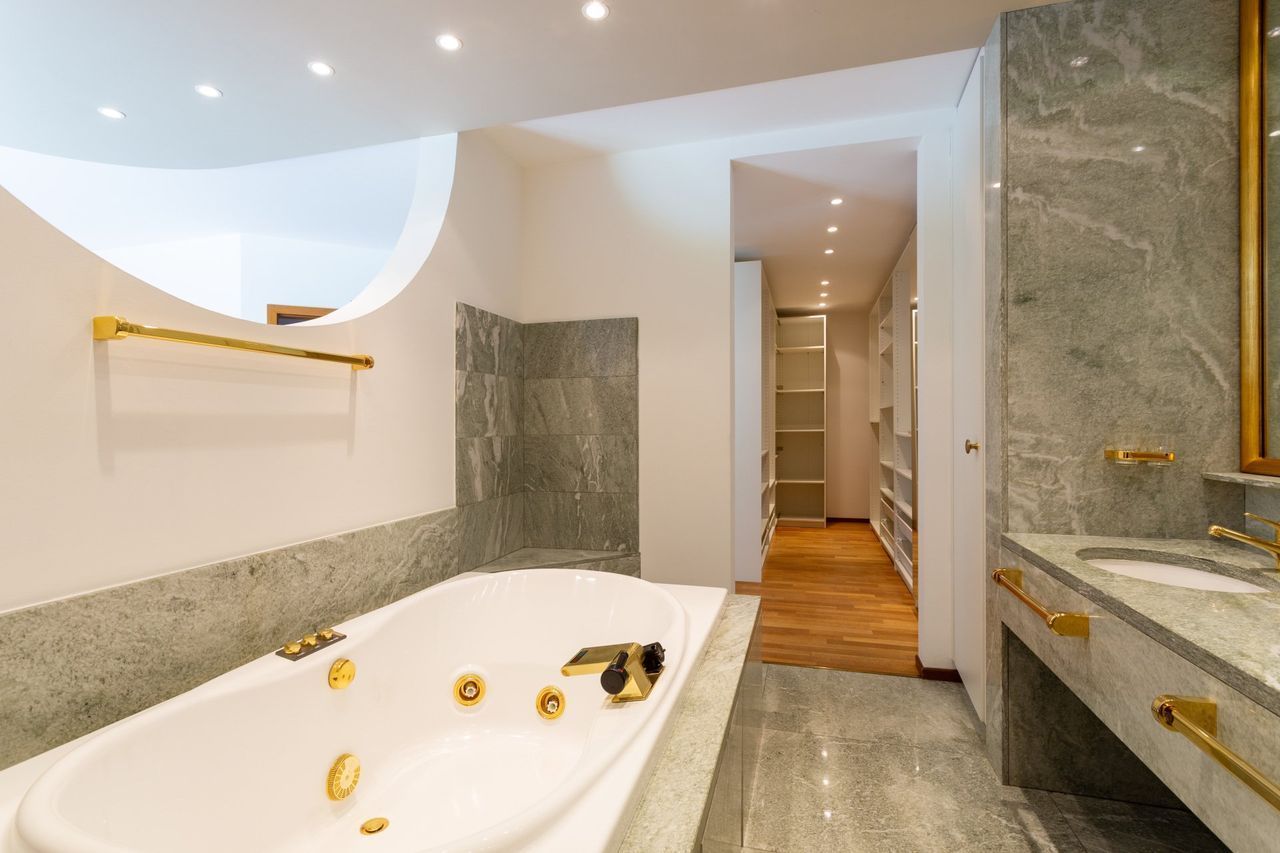
Bathtub Refinishing

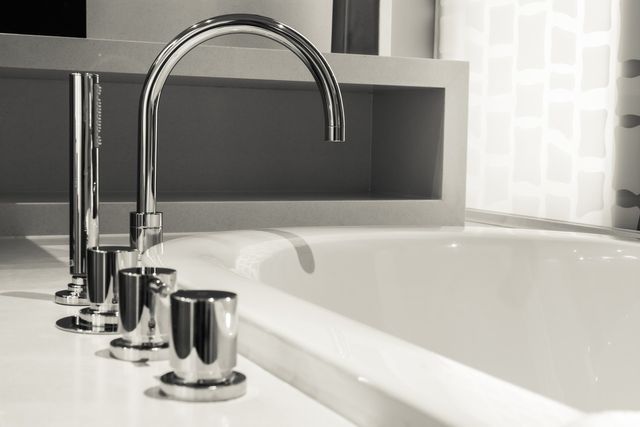
There’s nothing like having a nice relaxing bubble bath at the end of a long hard day to get rid of all the stress. However, to have some rest and relaxation, you need a bathtub that’s clean enough that you’d want to rest in. Rust, grime, and cracks can quickly turn your time to unwind into a gross nightmare. Bathtubs that haven’t been properly kept can also make your entire bathroom look dirty and unattractive, making you rush through the process of cleaning yourself rather than enjoying it. Despite this, many still put off bathtub renovation projects because of how overwhelming they are and how big of a hassle it can be. However, this shouldn’t be something to worry about. If you are dealing with minor tub rust spots or with a big tub mess, there’s always a
bathtub refinishing option out there for you.
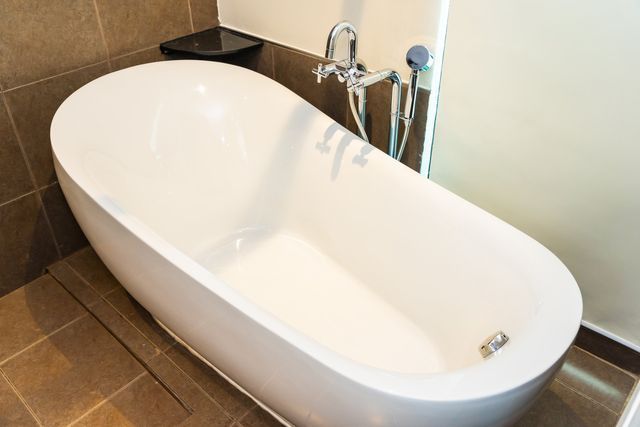
Bathtub Refinishing
This bathtub renovation option often goes by many names such as bathtub resurfacing, recoating, refinishing, or reglazing. Bathtub reglazing is actually a very straightforward process. Your old bathtub may be an eyesore with its rust and stains. If you want dramatic changes in your bathroom without spending too much money on a new bathtub, then bathtub reglazing can be a great option for you. This is best if the tiles around your bathtub are still pretty good. Reglazing is a great option for those who would prefer not to have their bathtub replaced as replacing a bathtub takes a lot more time and effort. Bathtub reglazing is the process of restoring a damaged, stained, or discolored bathtub to a like-new finish. This is usually a temporary fix since bathtub refinishing is a purely cosmetic update. Here’s a quick look at the refinishing process:
Step 01
The Substrate Is Prepared
For the first step, minor damages on the bathtub will be repaired. The substrate for adhesion of the epoxy primer and the acrylic topcoats are also prepared. The topcoats of the tub will be etched mildly to provide a porous surface to strengthen the bond of the topcoats. Etching is done on surfaces such as cast iron, porcelain, ceramic, tile, granite, marble, and stone For surfaces such as fiberglass, laminate, acrylic, and plastic, sanding using a 180 grit or 320 grit sandpaper is done. The epoxy primer to be used is designed specifically to be resistant to moisture.
Step 02
The Surface is Primed
Once the surface has been properly prepared, two to three coats of epoxy primer are applied to the substrate in order to prepare the surface for the finishing topcoats. This further ensures the adhesion of the final product and promotes the long life and durability of the new finish.
Step 03
The Acrylic Top Coats Are Applied
After the surface has been primed with a powerful bonding agent that shares similar properties to the topcoat, the topcoat will then be applied to the surface. There will be a minimum of four topcoat applications. The coating will be dry to touch in 24 hours and the bathtub will be ready to use 48 hours after the refinishing process has finished.
If you’ve got an old, chipped, and otherwise undamaged bathtub, there are more benefits to getting it repaired, such as:
Cheaper Than Replacement
The total cost of a new bathtub isn’t just the purchase price. You will also have to factor in the cost of a plumber, the replacement of the surround which turns out to be the most expensive part. If your tub still appears to be dirty even after cleaning, you still have a chance to save it with bathtub refinishing.
Protection Against Lead
Many tubs before 1984 were made out of porcelain and contained high levels of lead. This is a serious concern for the health of you and your family. By encapsulating your bathtub with a new finish, you can prevent any lead from affecting your family.
Eco-Friendly
Refinishing your tub is an excellent way to reduce your carbon footprint. Having a new tub installed will mean that your old one will end up in a landfill. Choosing to have your present one refinished instead minimizes your impact on the environment and saves you money.
Bathtub Liners
Bathtub liners are basically an acrylic replica of your existing bathtub, except that you can change the color and the skirt style if you want. A bathtub liner is molded out of PVC or acrylic and fits over your current bathtub. It offers the look of a new tub without the hassle of installing one. It’s important to remember that a tub liner doesn’t fix the look of your current tub and only covers it up. Here’s a quick look at the bathtub liner process:
- A local installer will first send precise measurements and photographs of the tub to company headquarters.
- The company identifies the model, pulls it off the shelf, and with a sheet of acrylic of PVC, they create an exact mold of the tub. This results in a 35-pound liner that slips over the tub like a new glove.
- During the installation process, the local representative cleans the old tub with denatured alcohol, removes the drain and overflow, and trims the liner so that it fits well against the walls. Using a combination of two-sided butyl tape and silicone adhesive, the liner will be attached to the old tub. The technician will finish up by installing a new drain and overflow.
- After the liner is delivered, which usually takes up to four to eight weeks, a technician can install it within six to eight hours. The bathtub will be available for use that same evening.
A tub liner is great if you can only handle a short installation time as it only takes 6 to 8 hours to install and there is no downtime after installation. A liner is also the least invasive option and is fairly affordable. However, tub liner options can be limited in assortment and will not totally change the look of your original tub. Pricing also varies depending on the material you choose and the level of customization.